wave tucks

wave tucks
Showing posts with label lifted swags. Show all posts

Thursday, July 24, 2014

Raised Swag with Bling - inspired by Houzz

I have been busy lately and will be adding numerous posts about my recent projects.  This post is about the guest bedroom for some new clients who were such a pleasure to work with!  The client's mom contacted me about providing window treatments for all of the couple's new home's windows and they were great to work with from the word "go".  The client provided me with numerous inspiration photos from Houzz, along with photos of their existing bedding or furniture, so that I could bring ideas and fabrics that would work well with her initial ideas.

We decided on ALL of the styles and fabrics for all eight rooms in one appointment - whew!  It was great fun to select everything all at once and get the fabric, trim and hardware orders rolling in.

This post is about the guest bedroom project.  Below is the photo of the existing bedding that we would coordinate with for the window treatment.


The inspiration photo showed a raised swag with contrast cascades and choux which were accented with large faceted faux crystals.  I love this treatment and in the inspiration photo, you can see the proportions are perfect for the window, and the fabric pattern repeat matches on the shower curtain and the cascades - design perfection by Pamela DeCuir Interior Designs, with flawless fabrication by Design by Evelyn!

Design by Pamela DeCuir Interior Designs; Fabrication by Design by Evelyn
I made a mockup of the treatment in my workroom, to check the proportions and make sure the swag fold would drape well in both the bottom folds and the lifted folds.
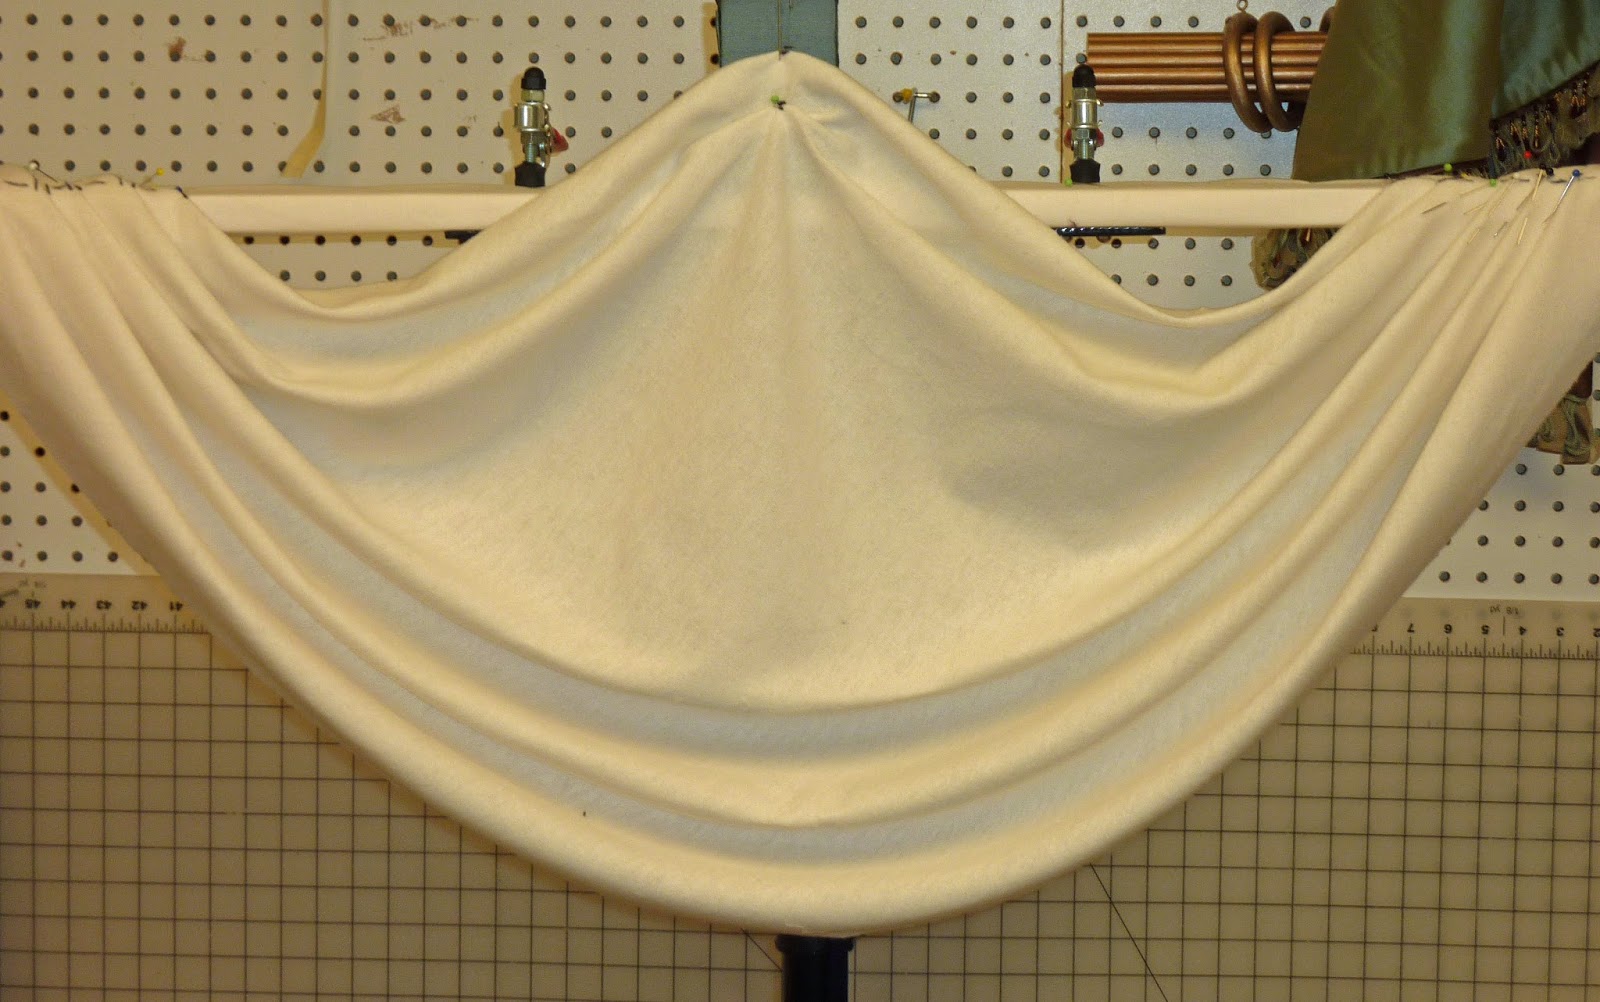

We selected an embroidered fabric for the main fabric, with contrast dark cream for the cascades and medium blue for the microcording on the cascade seam.

Here is the finished treatment at installation:


The husband was home during install and took photos to send to his wife as we went from room to room, so she could see how the project was going.  When she arrived home, she sent me the sweetest email stating that she ran from room to room, so excited to see each project and how well they complemented each room.  

I will be posting photos of the rest of their treatments soon - keep watching!

Susan

Tuesday, April 30, 2013

Lifted Swags & Decorative Molding

I recently installed some lovely lifted (raised) swags and drapery panels for a new client in my area who had been referred to me via Facebook.

This client lives in an older neighborhood next to mine (mine is older also) and both areas are seeing a ton of new construction homes.  She is in a new construction home and was interested in a window treatment for her dining room window.  She had recently bought some fabric at the closing of one of Houston's home decorative fabric stores.  She had plenty of yardage of a green & gold damask print fabric, so we were not limited in window treatment design choices.

She selected a pair of lifted swags that would each start lower on the outer edges, and rise up in the center on a decorative wood rod with finials.  A pair of stationary drapery panels would be mounted underneath the swags and would frame the window.


This client has beautiful wood moldings throughout the home, including above and around the dining room window.  I took careful and extensive measurements so that we could obtain as much "lift" in the center area as possible, while staying within the molding width areas on the outer edges.


You can see from the photos above and below that there are multiple levels of trim, both width-wise and depth-wise.


We decided to mount the board in the 1" open space just above the lower lip, and it fit perfectly.  This allowed us a bit of extra height for the center of the lifted swags.

The client was unsure of whether or not she wanted to use the tassel trim on the bottom hem of the swags.  She has wonderful artwork and beautiful dining room furniture and she was a bit concerned that the tassels would be too much decoration for the room.  So I sent her a photo of one swag during fabrication, showing the swag both with and without trim.  She elected to use the trim, which I think was a perfect complement to the style, room and fabric.


The homeowner located the decorative hardware on her own, following the specifications of rod diameter (2") and finial size that I had provided.  She is from Louisiana and really wanted to find some fleur de lis shaped finials, and she was successful!

The photo below shows the board mounted swags installed.  We had not yet installed the finials or the drapery panels.  The careful measurements and planning allowed the rod to be showcased on the 4" flat section of the crown molding.


Below you can see the finished treatment with the great decorative finials and the drapery panels installed.  The panels break on the floor about 1", which provides a pretty look without providing children or pets a place to play.

The swags and panels are both blackout lined to prevent light bleed-through.  The allows the fabric colors and pattern to always be "true" so that incoming light does not distort the pattern or cause the fabric to look "true" on the wall areas and washed out on the window glass area.  The fabric and treatment will look great both during the day and at night.


My client was very pleased with the completed project and has already posted her happiness on Facebook!

Hope you enjoyed this project -

Susan