 |
| Project window - before |
My client knew she wanted a pretty, swooping hemline that looked great from outside. She also wanted a functioning roman shade that did not "draw in" on the sides in the manner that a casual roman shade has a tendency to do, since it is less structured.
When designing custom window treatments, it is always important to consider how the treatment will look from the outside. Factors to consider: color of lining, will functional details be seen (rings/cording for roman shades), etc. Keeping these details in mind helps determine the items that will work best for the project at hand.

One window was 60" wide, had an arched top and two window breaks, requiring two swoops. The window in this project is 90" wide, with three breaks in the windows, requiring three swoops. In the photo on the left, the window on the right is our completed project window.
The colors in the room were neutral, allowing us lot of freedom in colors and patterns for the fabric selection.
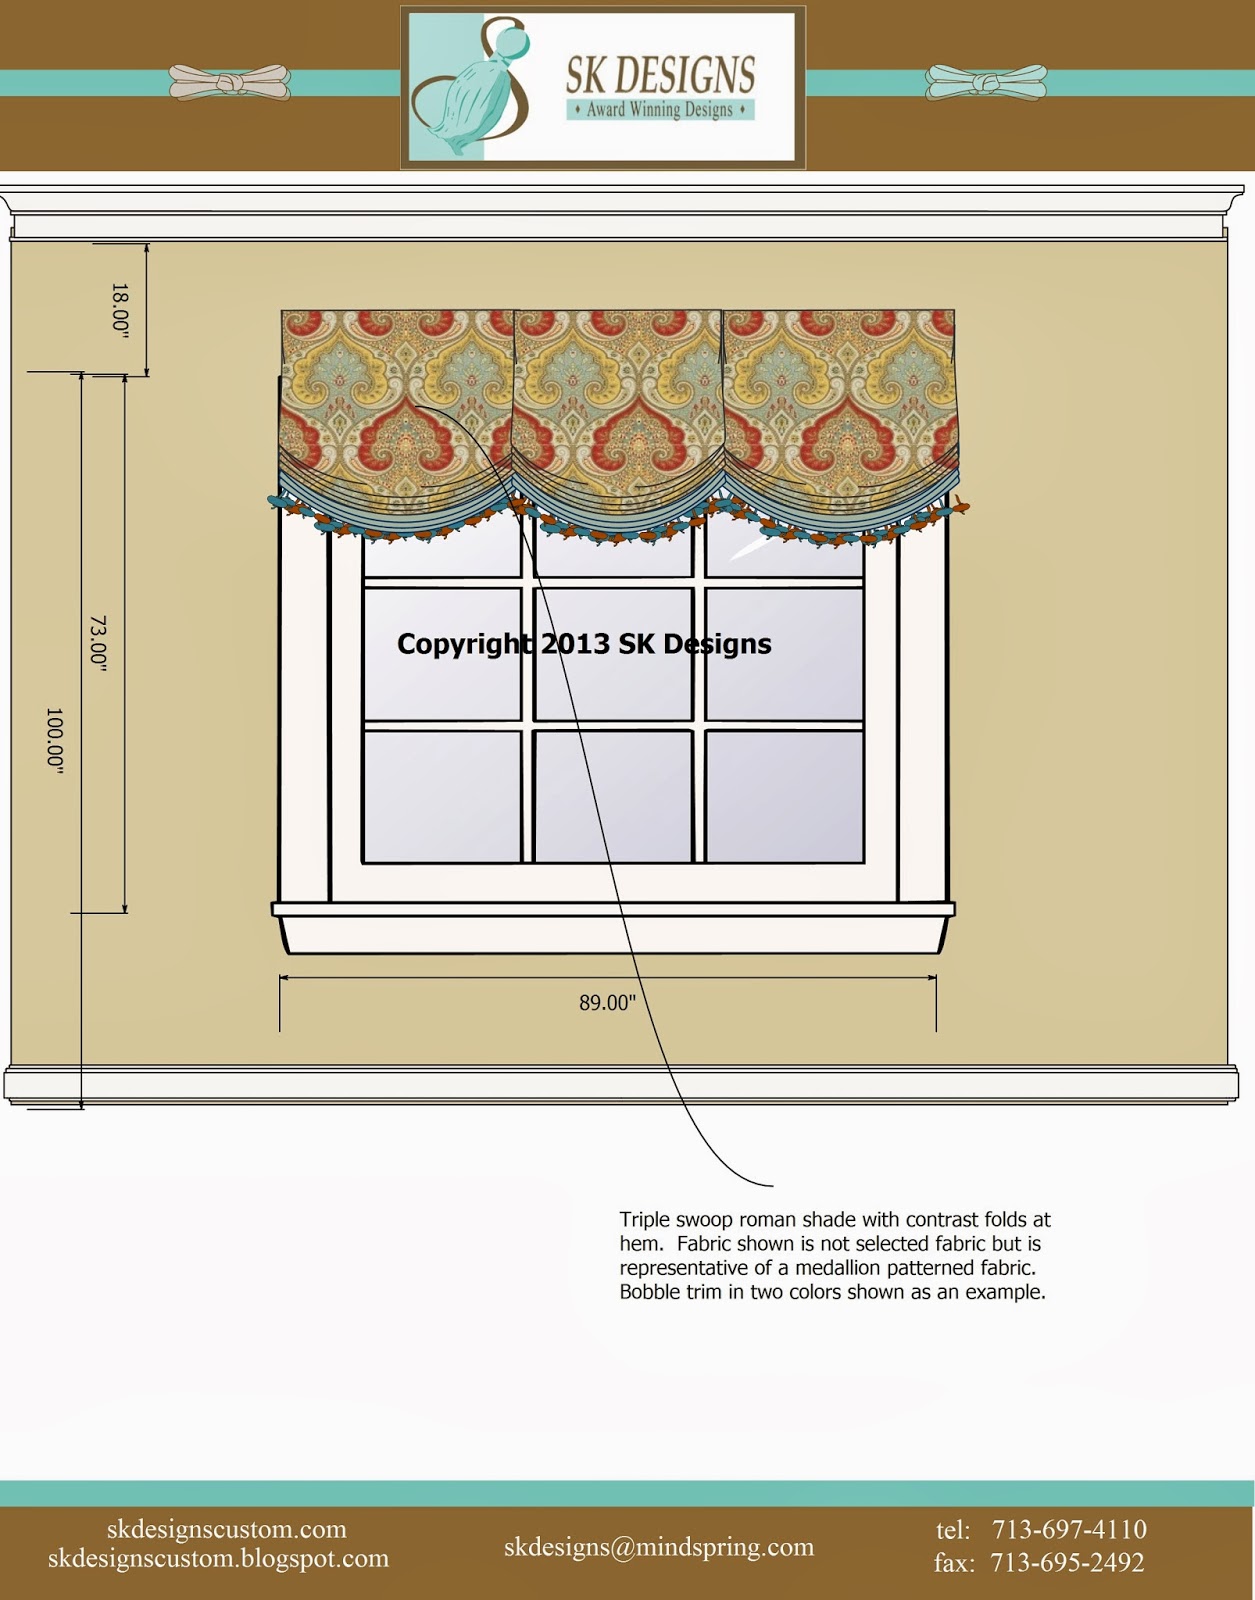
I created a rendering for the client's approval of the style, before we selected the fabric, when we were considering using a contrast fabric in the permanent hem folds. Once we selected the fabrics, we decided to use the contrast fabric on the valance so that it was more prominent and visible.
My client loved an embroidered Catania silk fabric with a gorgeous light blue ground with cream, russet and shades of green and yellow. It is a beautiful fabric! We added a little whimsy for the valance, using a green and yellow Kravet silk in a small checked pattern. The valance featured solid russet silk to follow the soft scalloped hem, and the shade hem was accented with a a russet drop bead tassel trim with silver bead accents. I loved the combination of fabrics and trims!
We selected a pretty polished nickel bead chain (fourth from the top) for the continuous loop cord lift system, in compliance with the safety regulations for corded products.
In order to accomplish the swooped shape at the bottom, but prevent the "drawing in" of the sides of the shades, I cut a trapezoid shape in the silk fabric for the permanent folds at the bottom of the shade. This provided a wider area at the hem folds, allowing the desired "swooping" and creating a pretty shape for the hem when viewed both inside and outside.
The shade was blackout lined to prevent light bleed through and protect the silk. Careful consideration was given in selecting the lift system for the shade, due to the large size (90 x 85) and the weight of the fabrics. I checked with the fabric vendors to obtain the weights of the silk and the blackout lining to make sure the finished shade weight would be within the weight limits allowing the shade to function properly.
Here is a closeup photo of the details and fabrics - so pretty!
 We had a bit of fabric remaining, so we added a couple of "picture frame" style pillows for the sofa - perfect! The silk center was accented with the russet microcord, providing a counterpoint to the checked fabric background. The russet silk was also used for a small flat flange around the edges, with three little pleats at each corner.
 Hope you enjoyed this project as much as I did!
Susan


It turned out beautifully, Susan!
ReplyDeleteThank you, Deb! :)
ReplyDelete